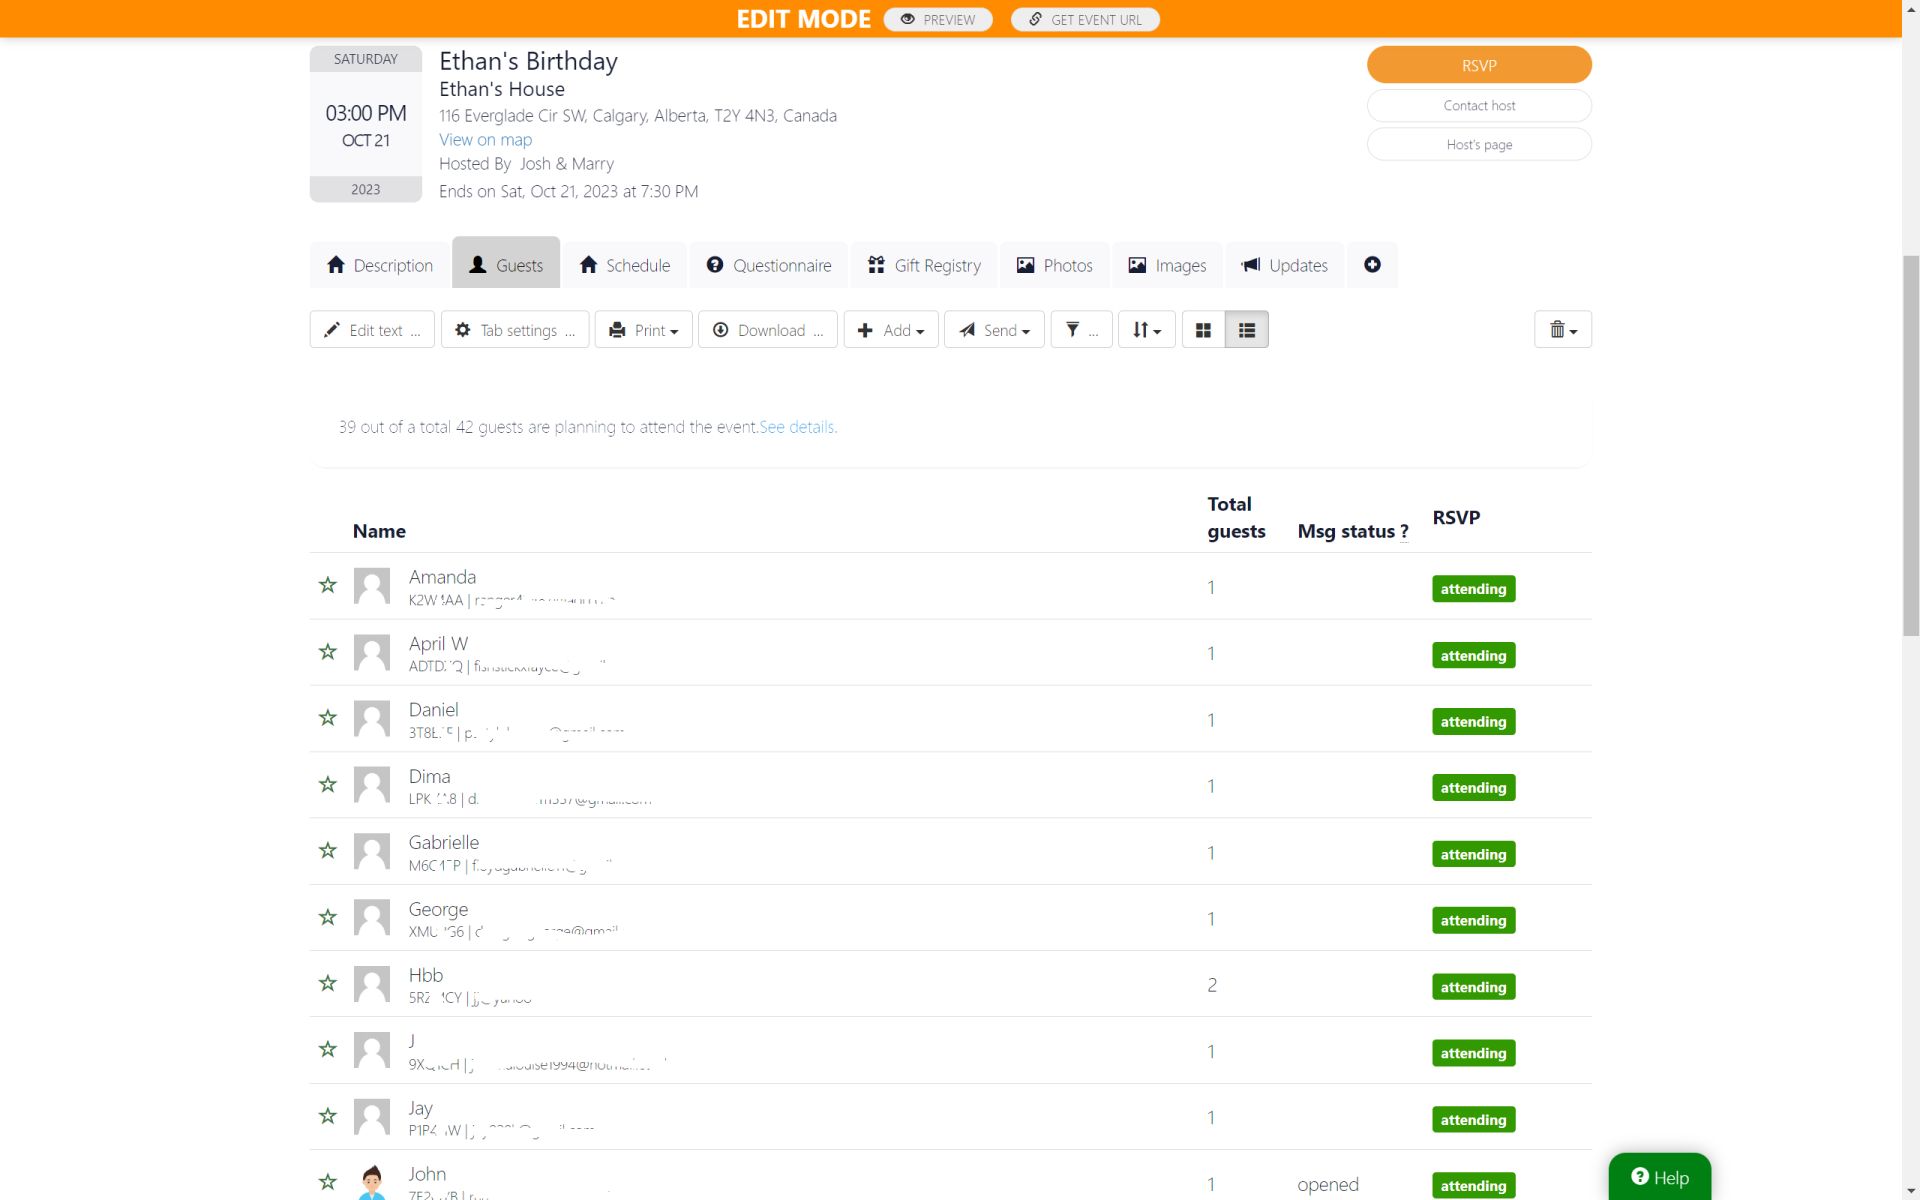
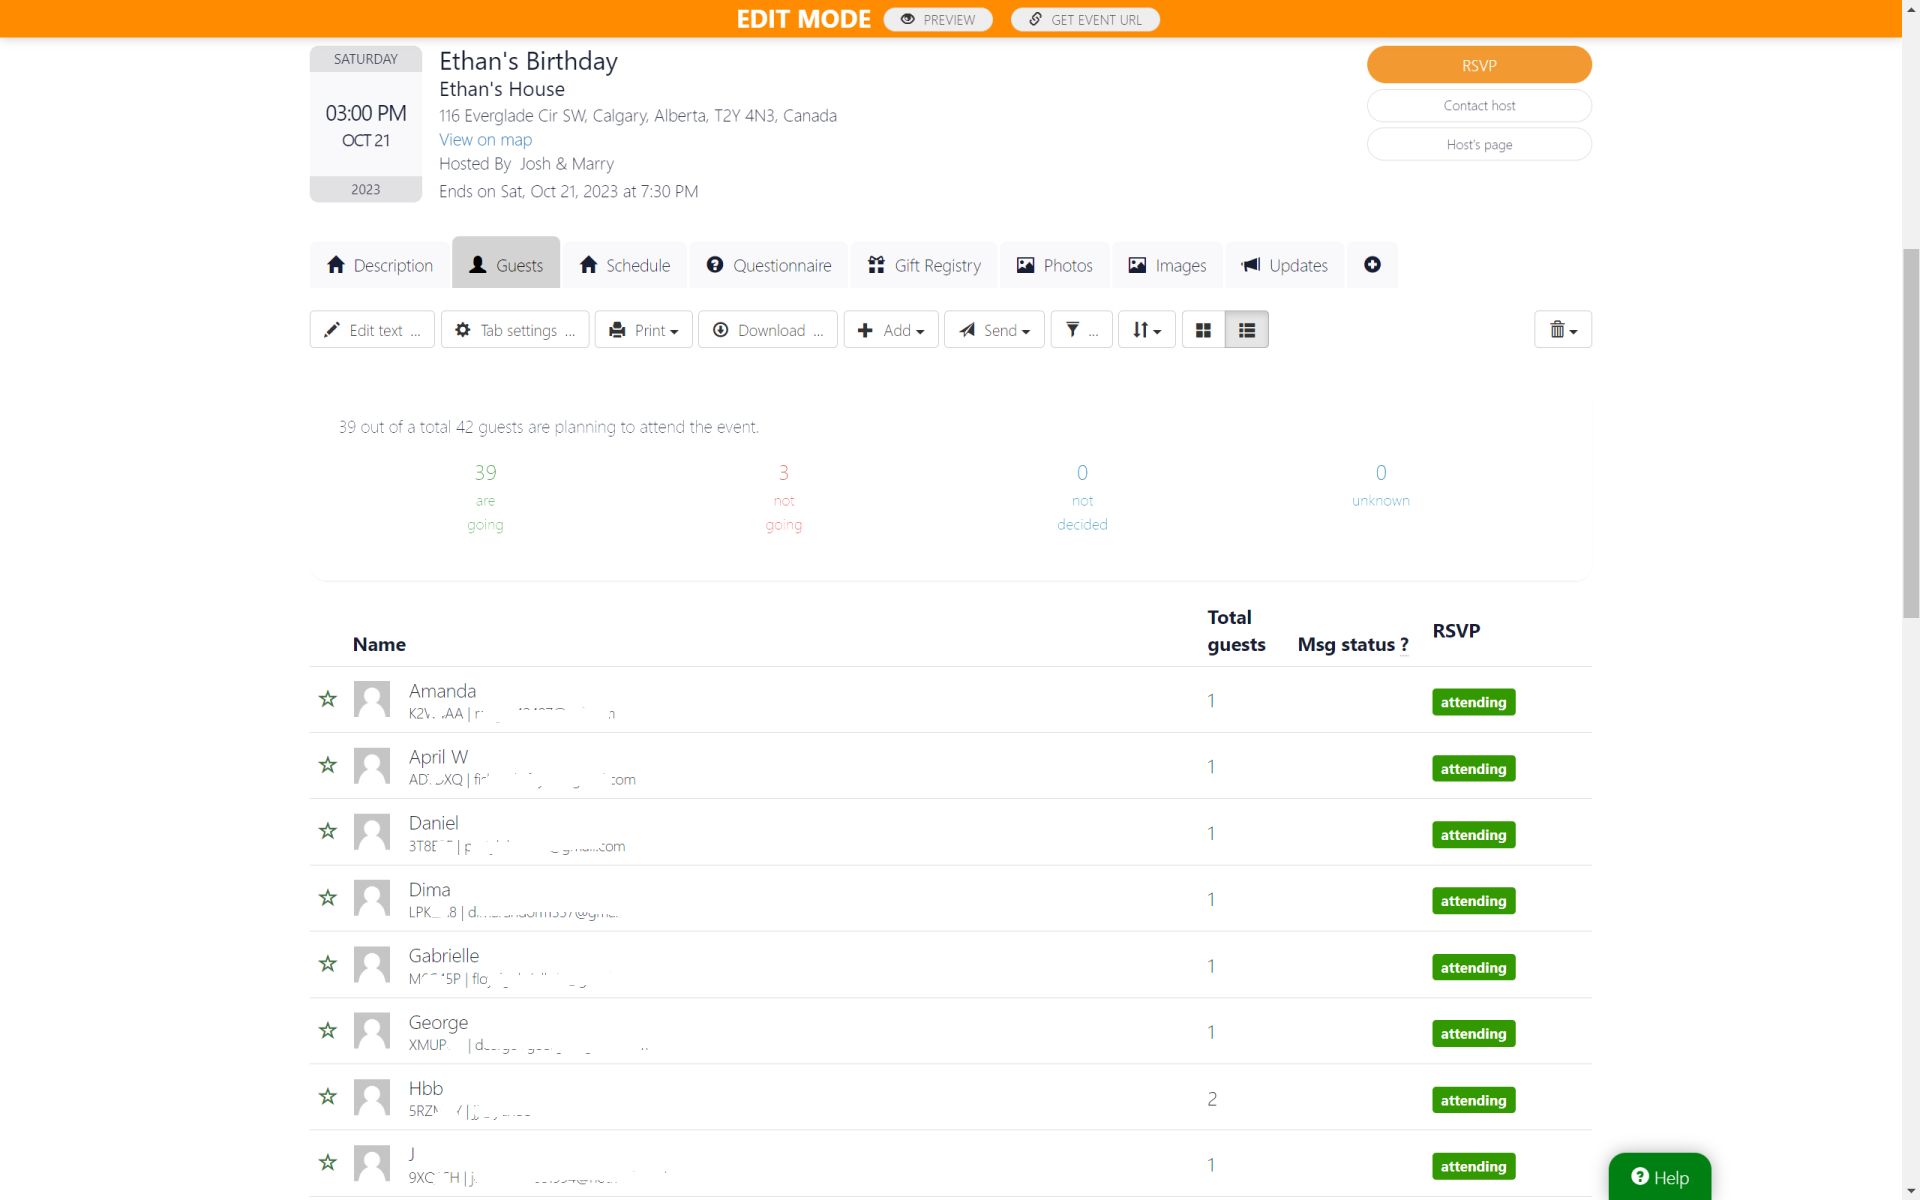
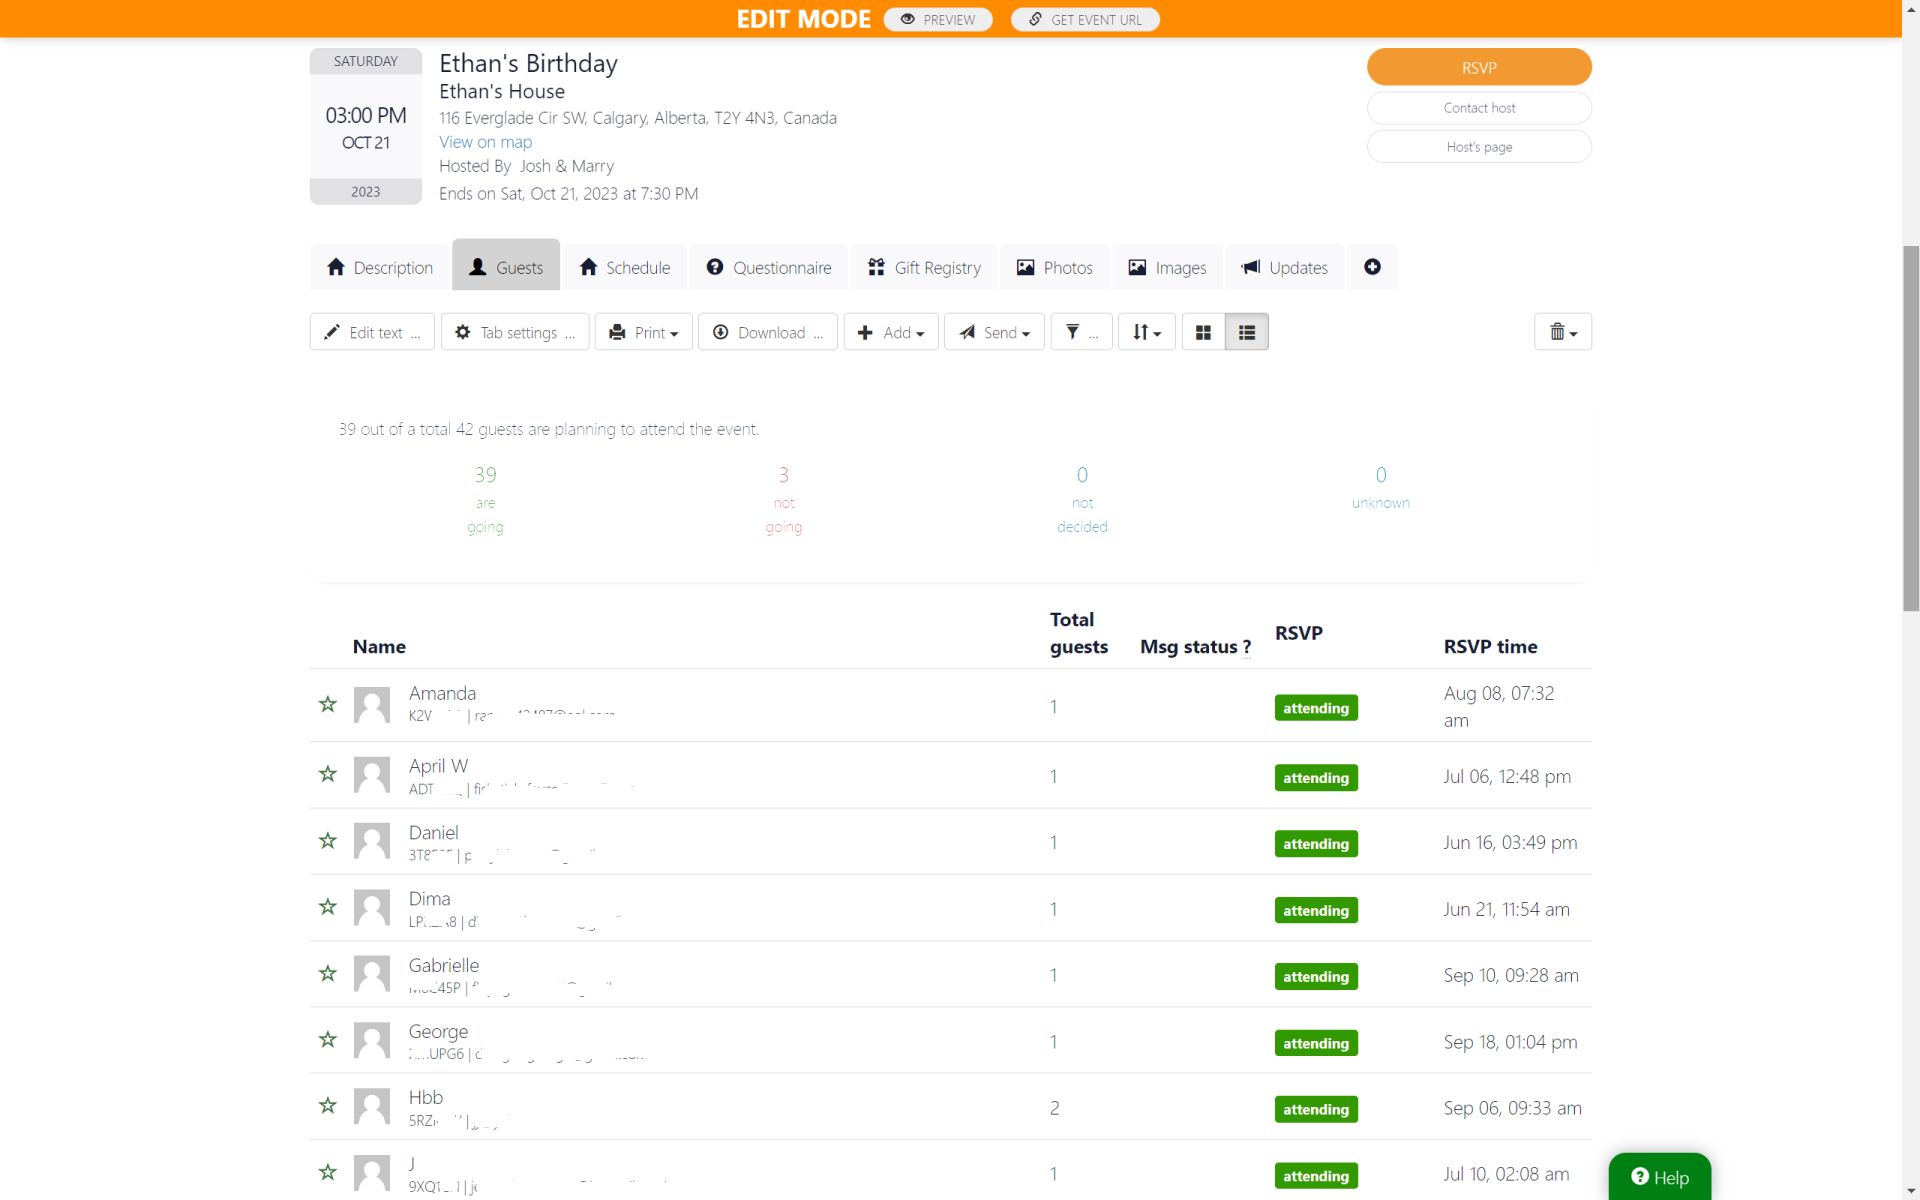
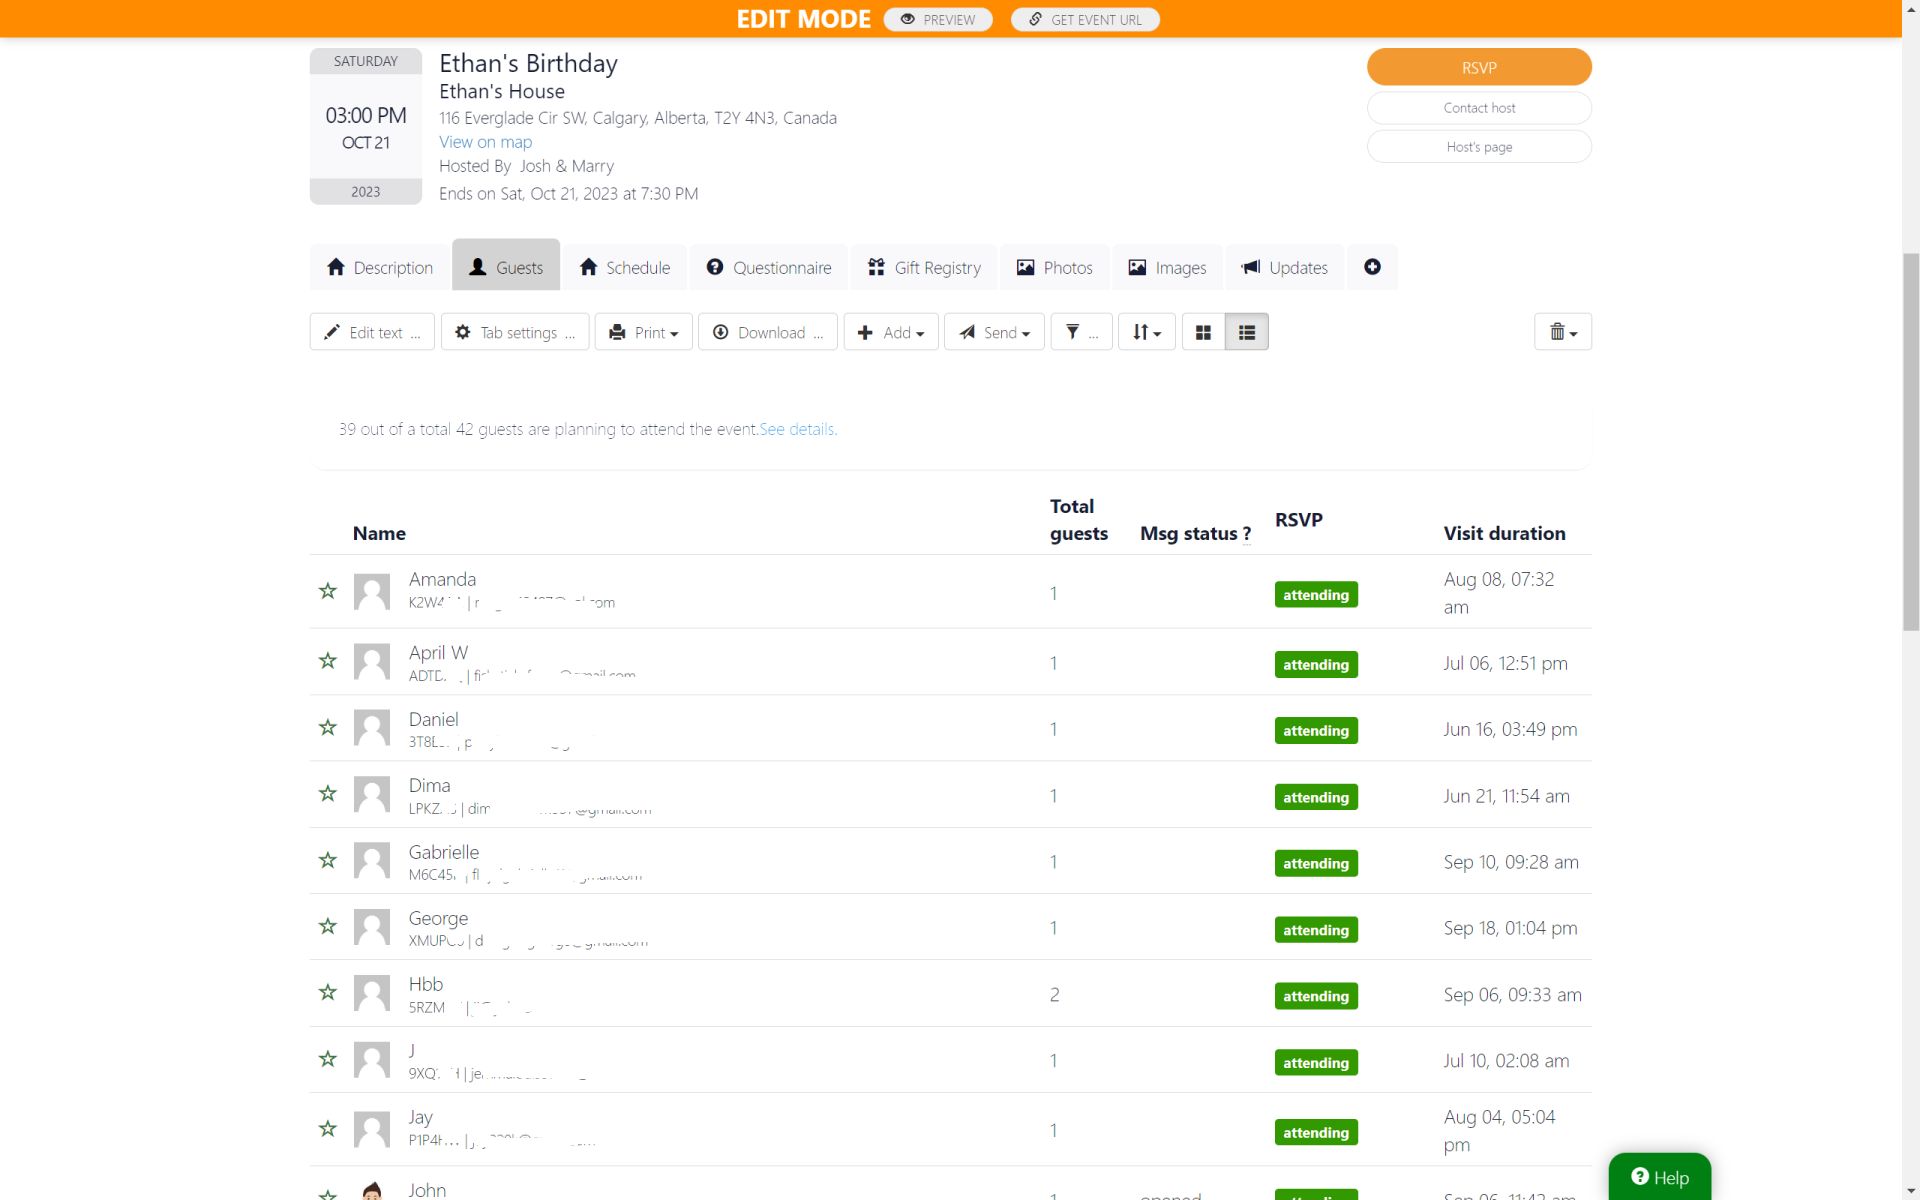
Make your event planning a breeze with PartyLabz's easy-to-use guest list feature. It helps you keep track of your guests and their RSVPs. Simply create an RSVP website for your event, send out invites, and collect RSVP with important information like names and emails. Plus, you can gather extra details like phone numbers, addresses, their job details and more.
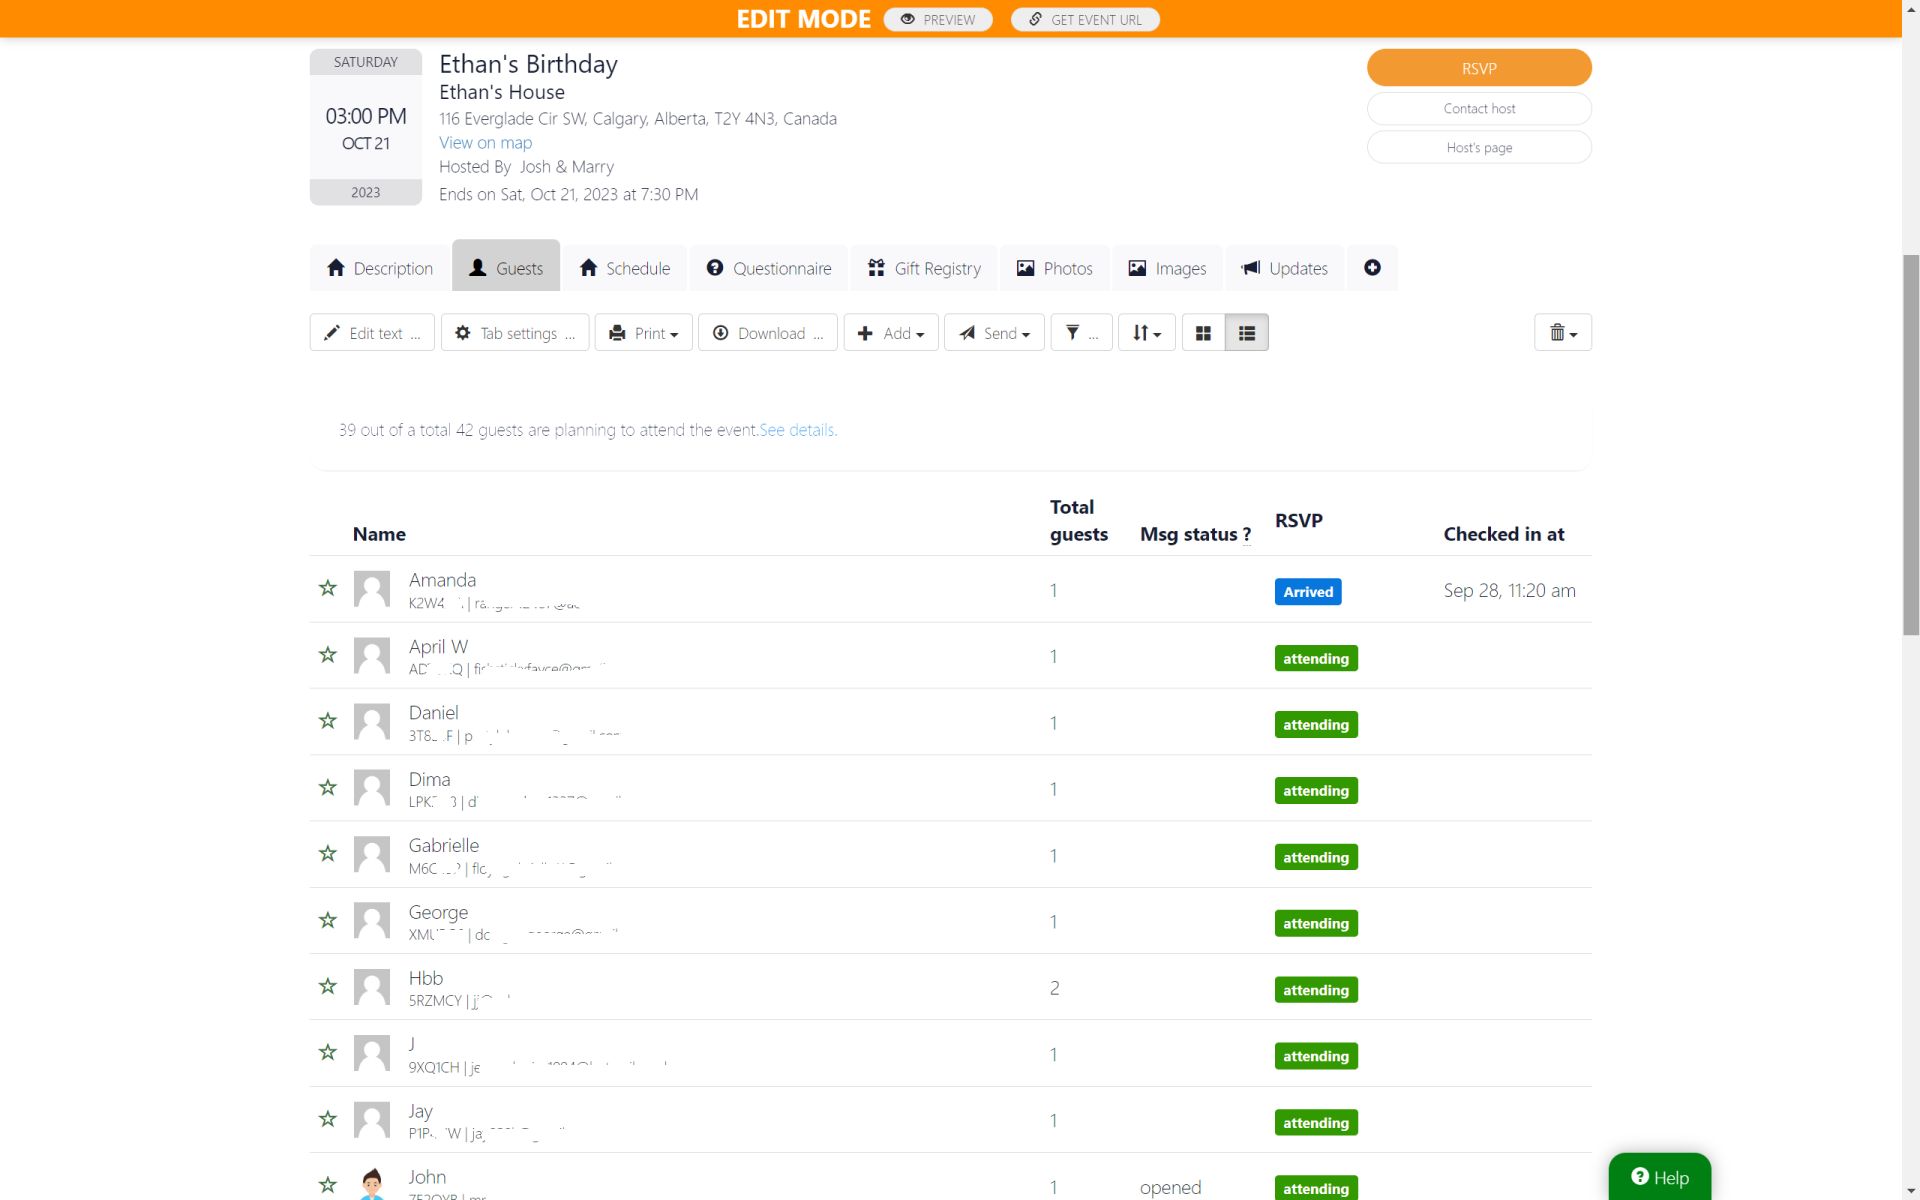
An event guest list is located on your event website on a dedicated page (tab). By default the tab is visible only for hosts and co-hosts.
The guest list allows you to filter guests by their RSVP status and sort them alphabetically, by group, by RSVP or last visit time and by attending status.
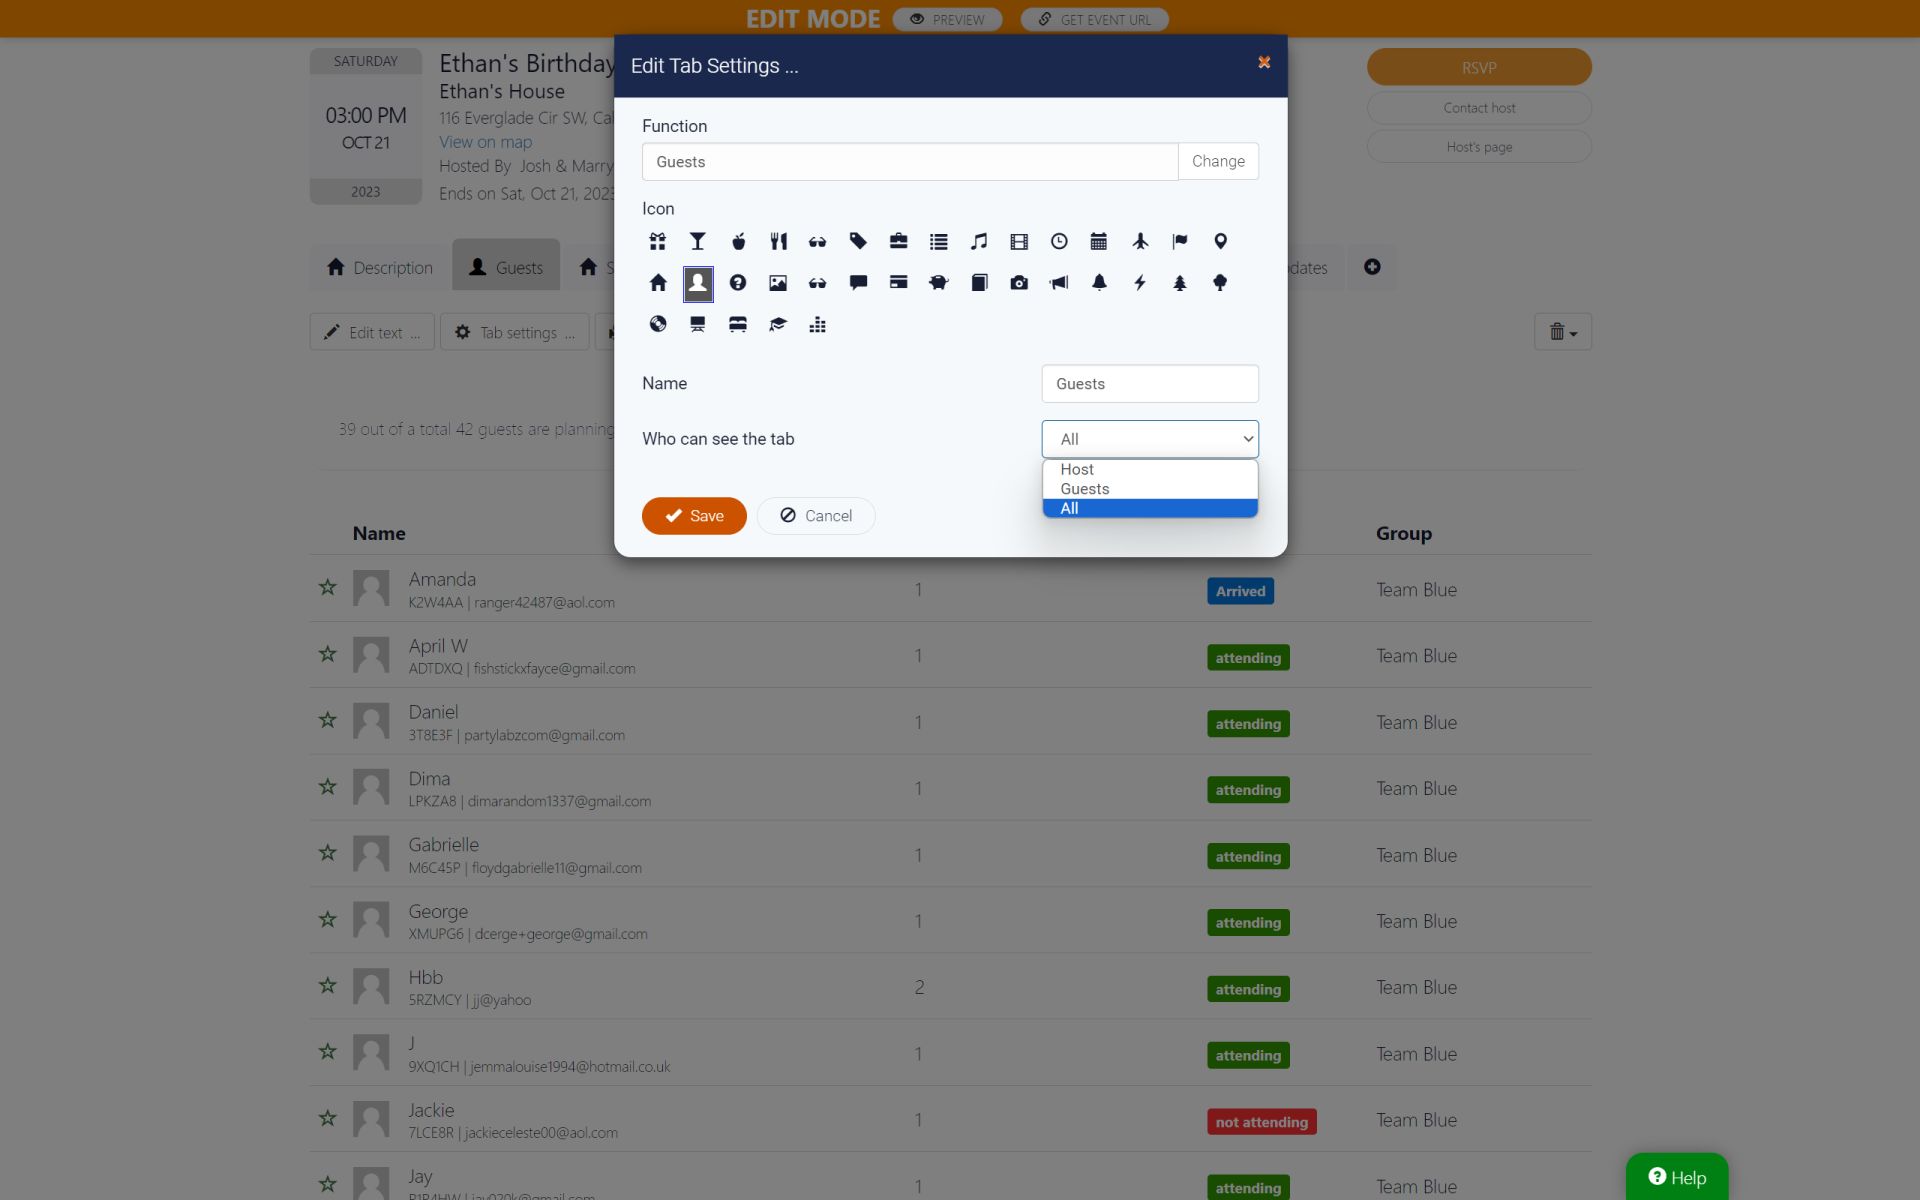
You can change the Guest List tab visiblity in its "Tab Settings" dialog by setting a value of the "Who can see the tab" to one of the following options:
- Host - visible only to the host and co-hosts
- Guests - visible to recognized guests
- All - visible to all visitors
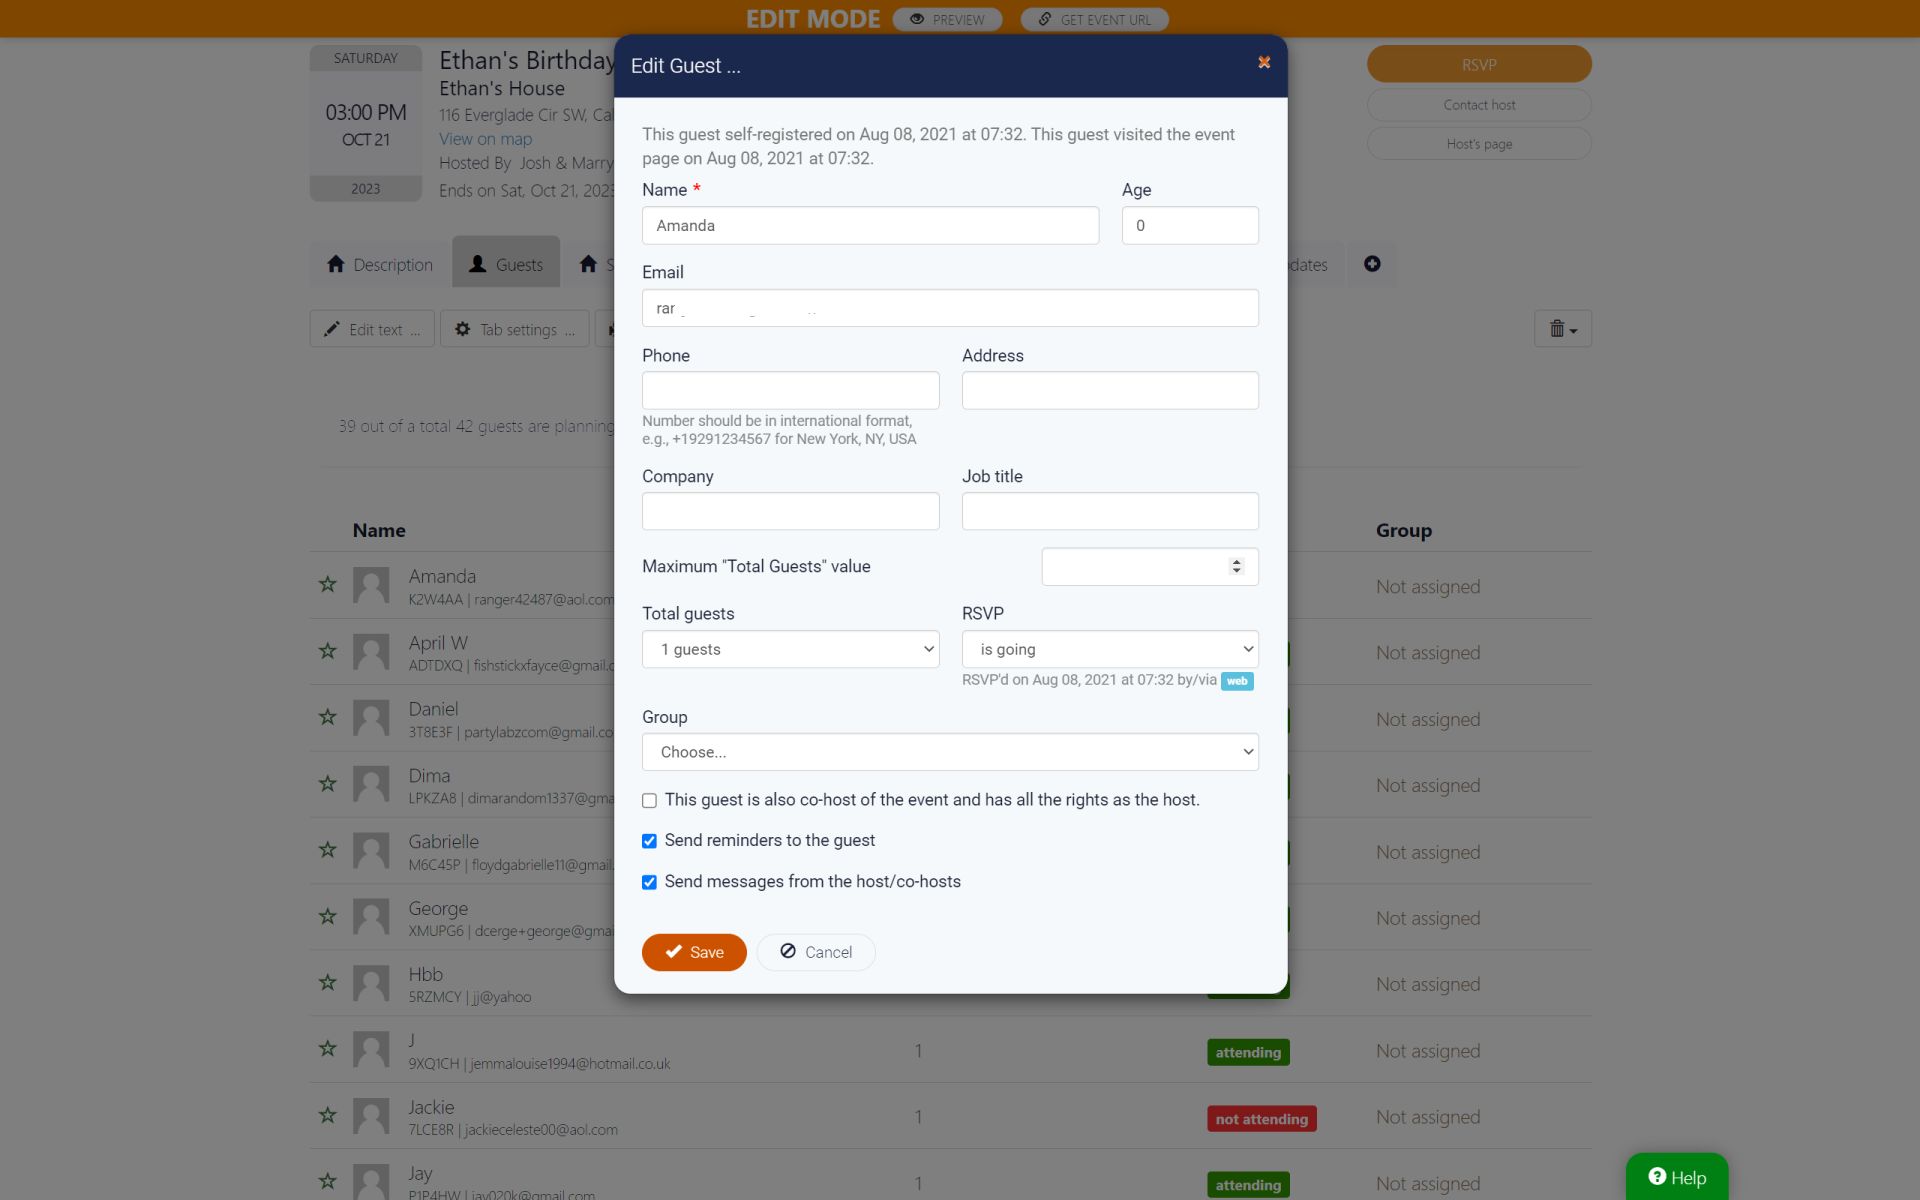
A guest list can keep the following details about each of your guests:
- Guest Unique Code - this is a unique per event auto-generated alpha-numberic sequence. It can be used on the "Menu - Scan quest's QR code". The quest code is displayed only in the guest list table and not available in the guest edit dialog
- Name - this is just a first name or full name of your guest. Code example: WH29BD
- Email - guest's email address. The email is used to send your guests RSVP confirmation, reminders or messages you want to send to your guests
- Phone - phone number in an international format. Example, +14031234567
- Address* - guest's address
- Age* - guest's age in years
- Company* - company where the guest works
- Job Title* - guest's job title
- Group** - group name to which the guest is assigned to. You can allow guests to select a group during RSVP, assign it by yourself or randomly assign guests to groups
Note that the fields marked by "*" are visible only when you enabled corresponding questions in the "Menu - Event Settings - RSVP" dialog.
** The group field is displayed only if you added groups to your event via "Menu - Manage Groups" dialog.
The guest list information can be added in the the following ways:
- Guests self register to your event. This is a case, when you send out your event website public URL and then guests visit your website and go to the RSVP page.
- Adding guests one by one via "Add - Add a guest" dialog. Works in cases when you have just a few guests to invite
- Adding guests in bulk via "Add - Add guests in bulk" dialog. In this case, you just copy-paste content of a regular .CSV file with 1-3 columns: name, email, phone. Ideal for cases, when you need to add hundreds or thousands of guests.
- Importing guests from Google Contacts. In this case you need to give PartyLabz permissions to get list of your contacts in Google. After that you manually select guests emails or phone numbers you want to import
- Importing guests from previous events. Ideal for cases when you have regular events with the same audience.
Here are the actions availabe for you as the event wesbite host or co-host:
- Download - the system will generate a CSV file and then get it downloaded to your computer. You can use the list
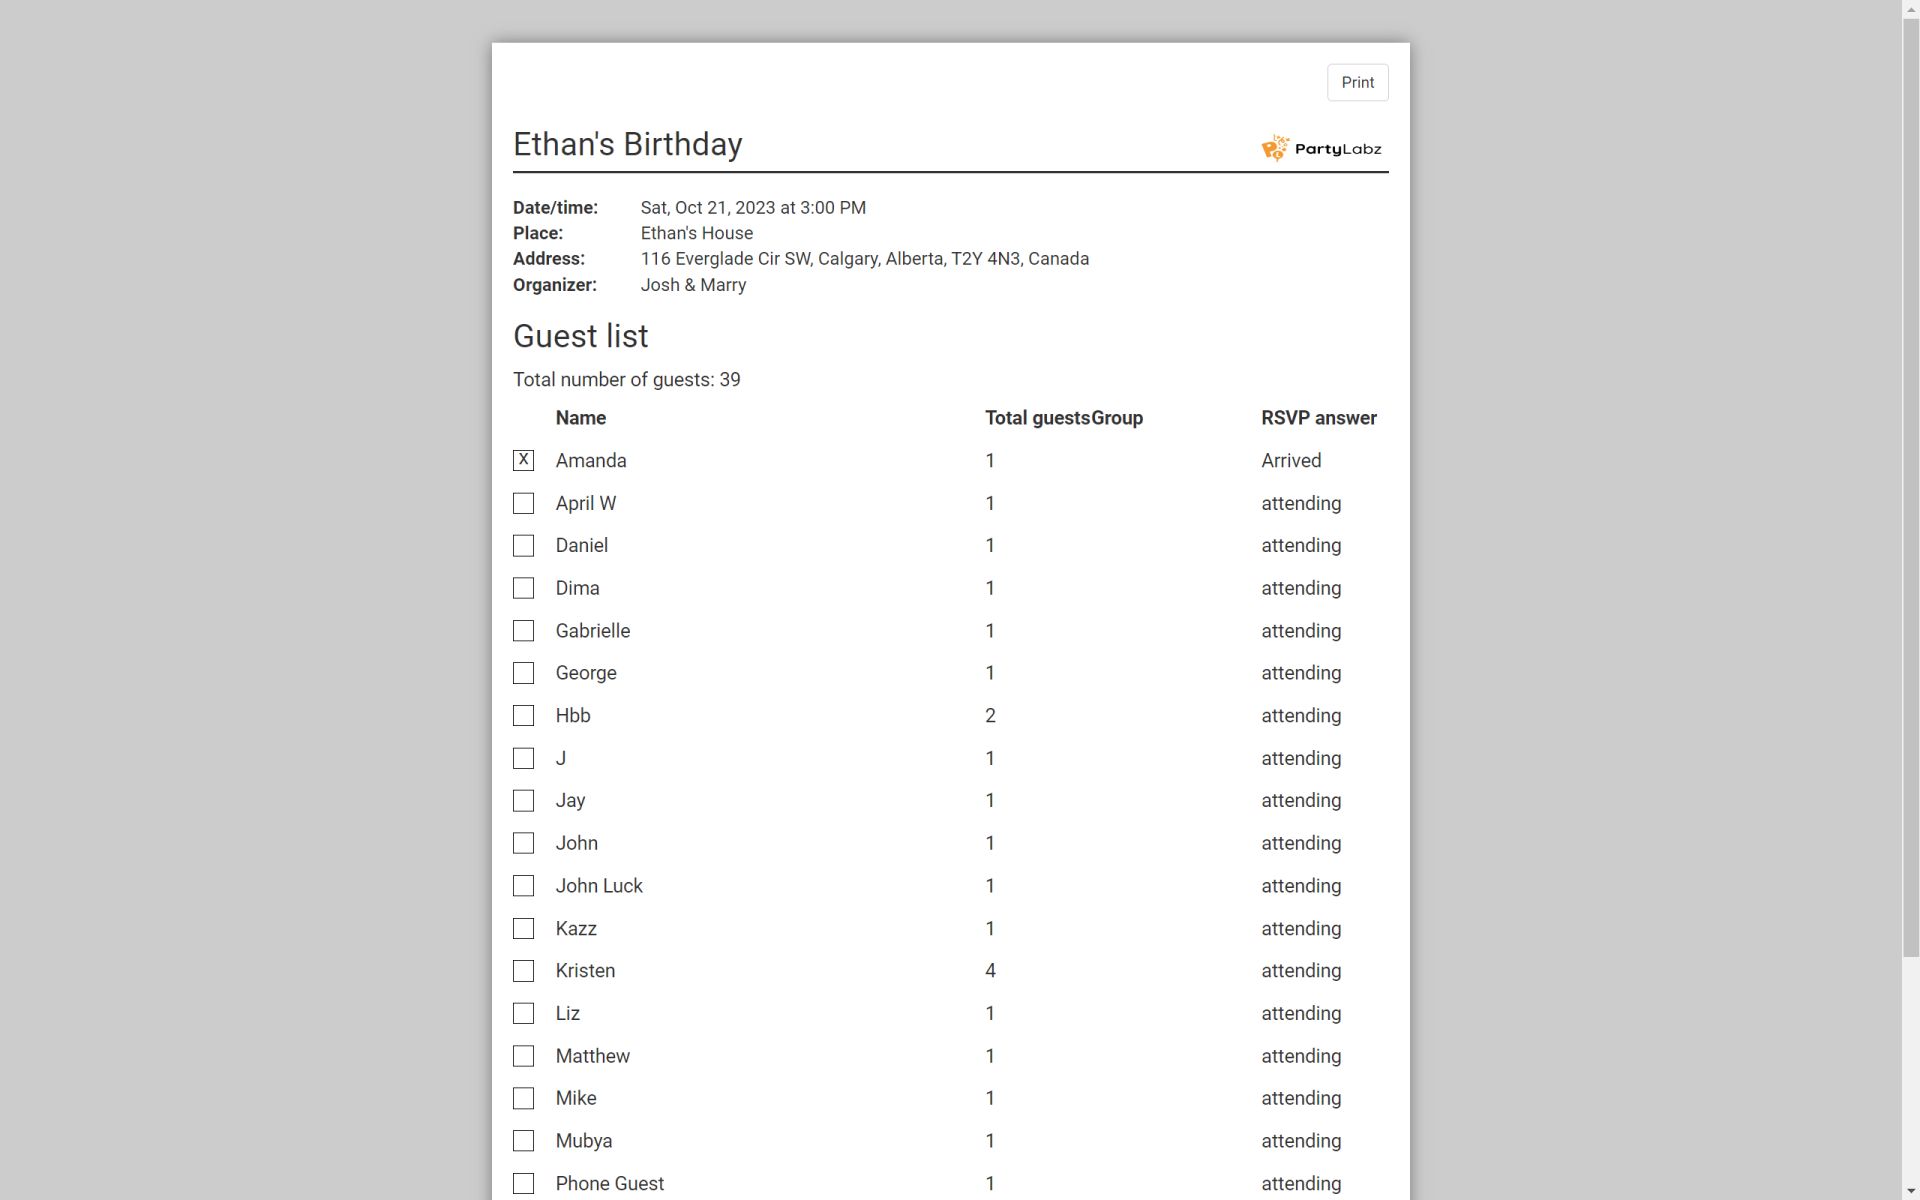
- Print Guests - a page to be used for printing your guest list sorted in alphabetical order
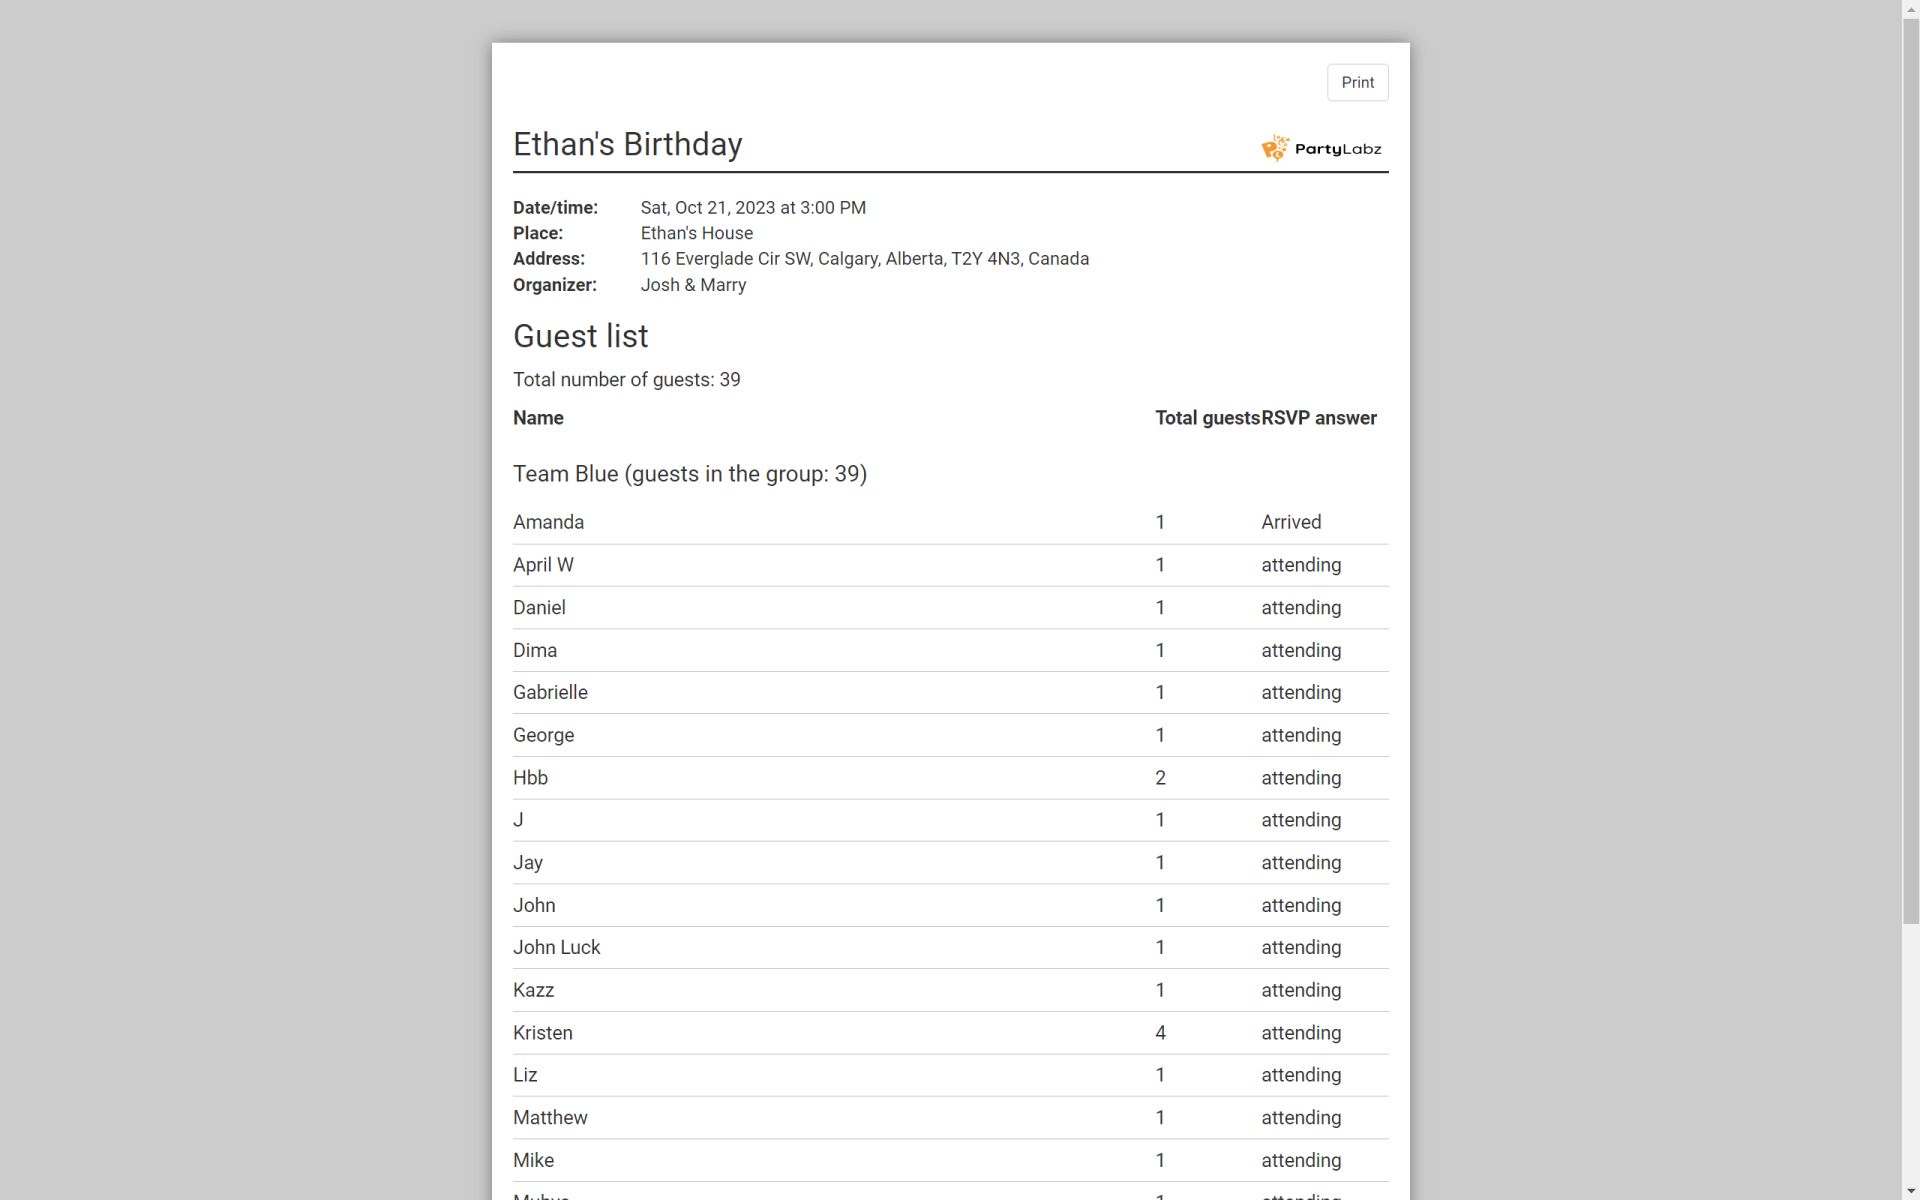
- Print Guests By Groups - a page to be used for printing your guest list grouped by groups and sorted in alphabetical order in each group
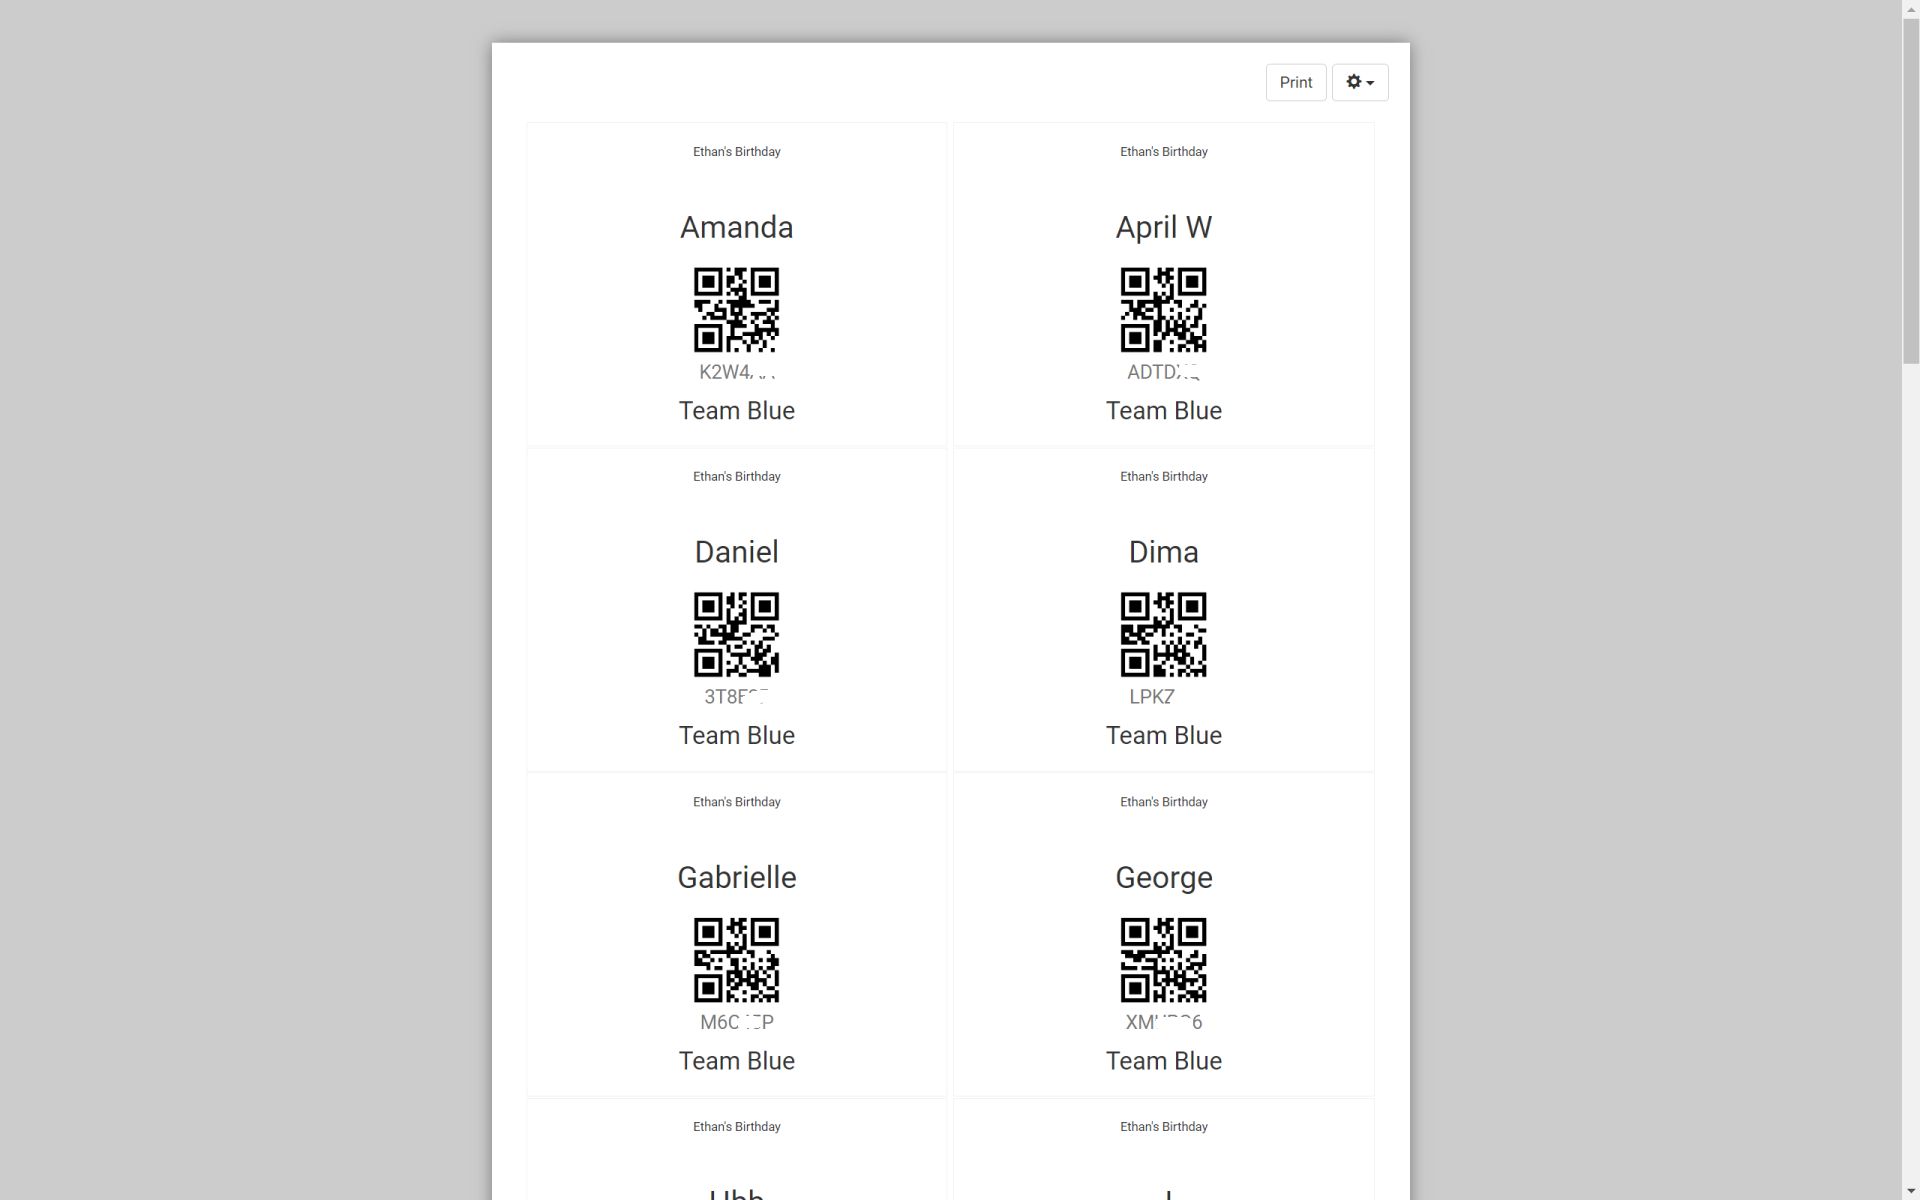
- Print Badges - a page to be used for printing badges for your guests.
PartyLabz makes event planning simple and stress-free! Join us today and create an enjoyable experience for you and your attendees.
